Fat tire e-bike storage in a one-car garage is a geometry problem before it is a shopping problem. A 26x4 tire is roughly twice as wide as the 2.1-inch tire on the hybrid that used to hang from a hook, and the bike wrapped around it carries a motor, a controller, and a battery that most old racks were never rated to hold. Get the layout wrong and you end up with a bike leaning against drywall, a scratched fork, and a pack that spent a Colorado winter at fifteen degrees.
I have hung bikes in a Denver garage for years, through mud season, snow melt, and a fourteen-year-old who treats every bike like it owes him money. The order that works never changes: measure the bike, pick the wall, place or mount the rack, then deal with the battery. The rack is the easy part. The battery is the part people get wrong.
Why you should trust me
I rode a fixie as a Denver bike messenger for eight years, forty miles a day, every season, up streets the tourists never find. My knees quit before the bikes did, so I bought an e-bike three years ago and never went back. Since then I have assembled every bike I own in my garage, tracked every mile against the battery meter, and ridden at close to 200 pounds, which is the test most reviews skip.
That matters here for one reason: weight. Almost everything that goes wrong with garage bike storage goes wrong because the rack was rated for a 25-pound road bike and the bike on it weighs three times that. I check the rating before I check anything else.
How I picked these two
I did not run a lab test on either product below. What I did was narrow the field with the numbers that decide whether a setup survives a winter: the rack's weight rating, whether it needs wall studs, how adjustable the arms are for different wheelbases, how wide the cradle is, and whether one person can load a heavy bike without help.
On the bike side, the criteria are tire width and motor class, because those two things set every dimension the rack has to handle. A 750W fat tire bike is a different storage problem than a 250W commuter, and the plan should start there.
The rack: Delta Cycle Michelangelo 2 Bike Storage Rack - Gravity Fully Adjustable Bike Storage Garage For Road, MTB, and Hybrid Bicycles - Vertical Bike Rack Holds Up To 80 lbs
 Visit on Amazon →
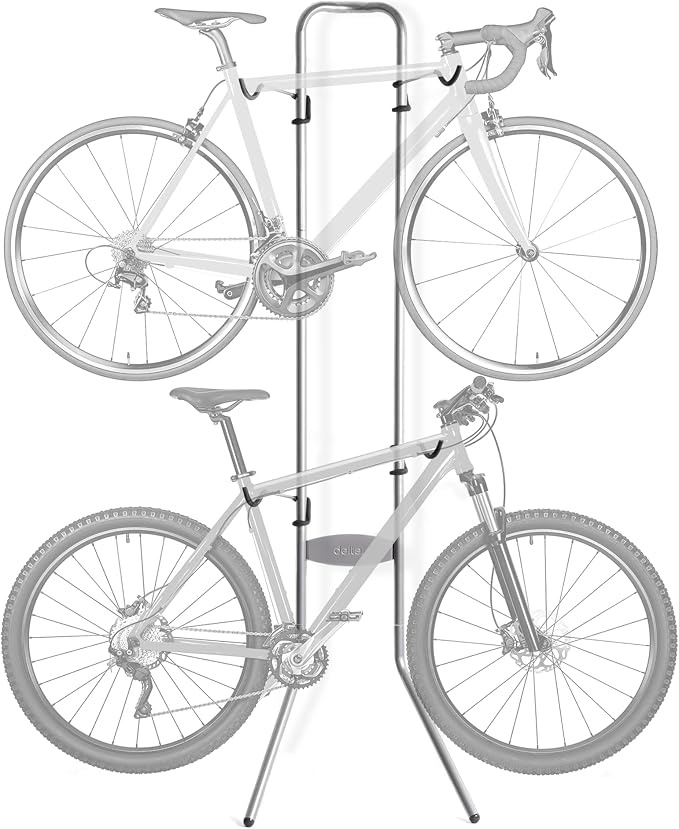
This is a gravity rack, which means it leans against the wall and the floor carries the load instead of four lag bolts in drywall. For a rental, a shared garage, or a concrete wall you would rather not drill, that is the whole argument. It is rated to 80 lbs, it holds two bikes vertically, and the arms adjust, so you are not locked into one wheelbase.
The honest caveat: this rack is described for road, MTB, and hybrid bikes, and a 26x4 fat tire is wider than any of those. Measure your casing across the widest point and compare it to the cradle before you commit, because a fat tire sitting half out of the hook is a bike waiting to fall. The same goes for the 80 lb rating. Weigh your bike, and if you are over that number, this is not the rack for you, no matter how good the price looks.
Flaws but not dealbreakers: a leaning rack has to sit where nobody clips it walking past, and on a slab that slopes toward the door you want the base tight to the wall rather than out in the middle of the garage. Load the heavier bike in the lower position so the weight sits closer to the floor.
For a two-bike household where one bike is a pedal bike and the other is a sub-80 lb e-bike, this is the simplest thing that works.
The bike it has to hold: INVANTI EB33 26"x4" Fat Tire Electric Mountain Bike for Adults, 750W Ebike
 Visit on Amazon →
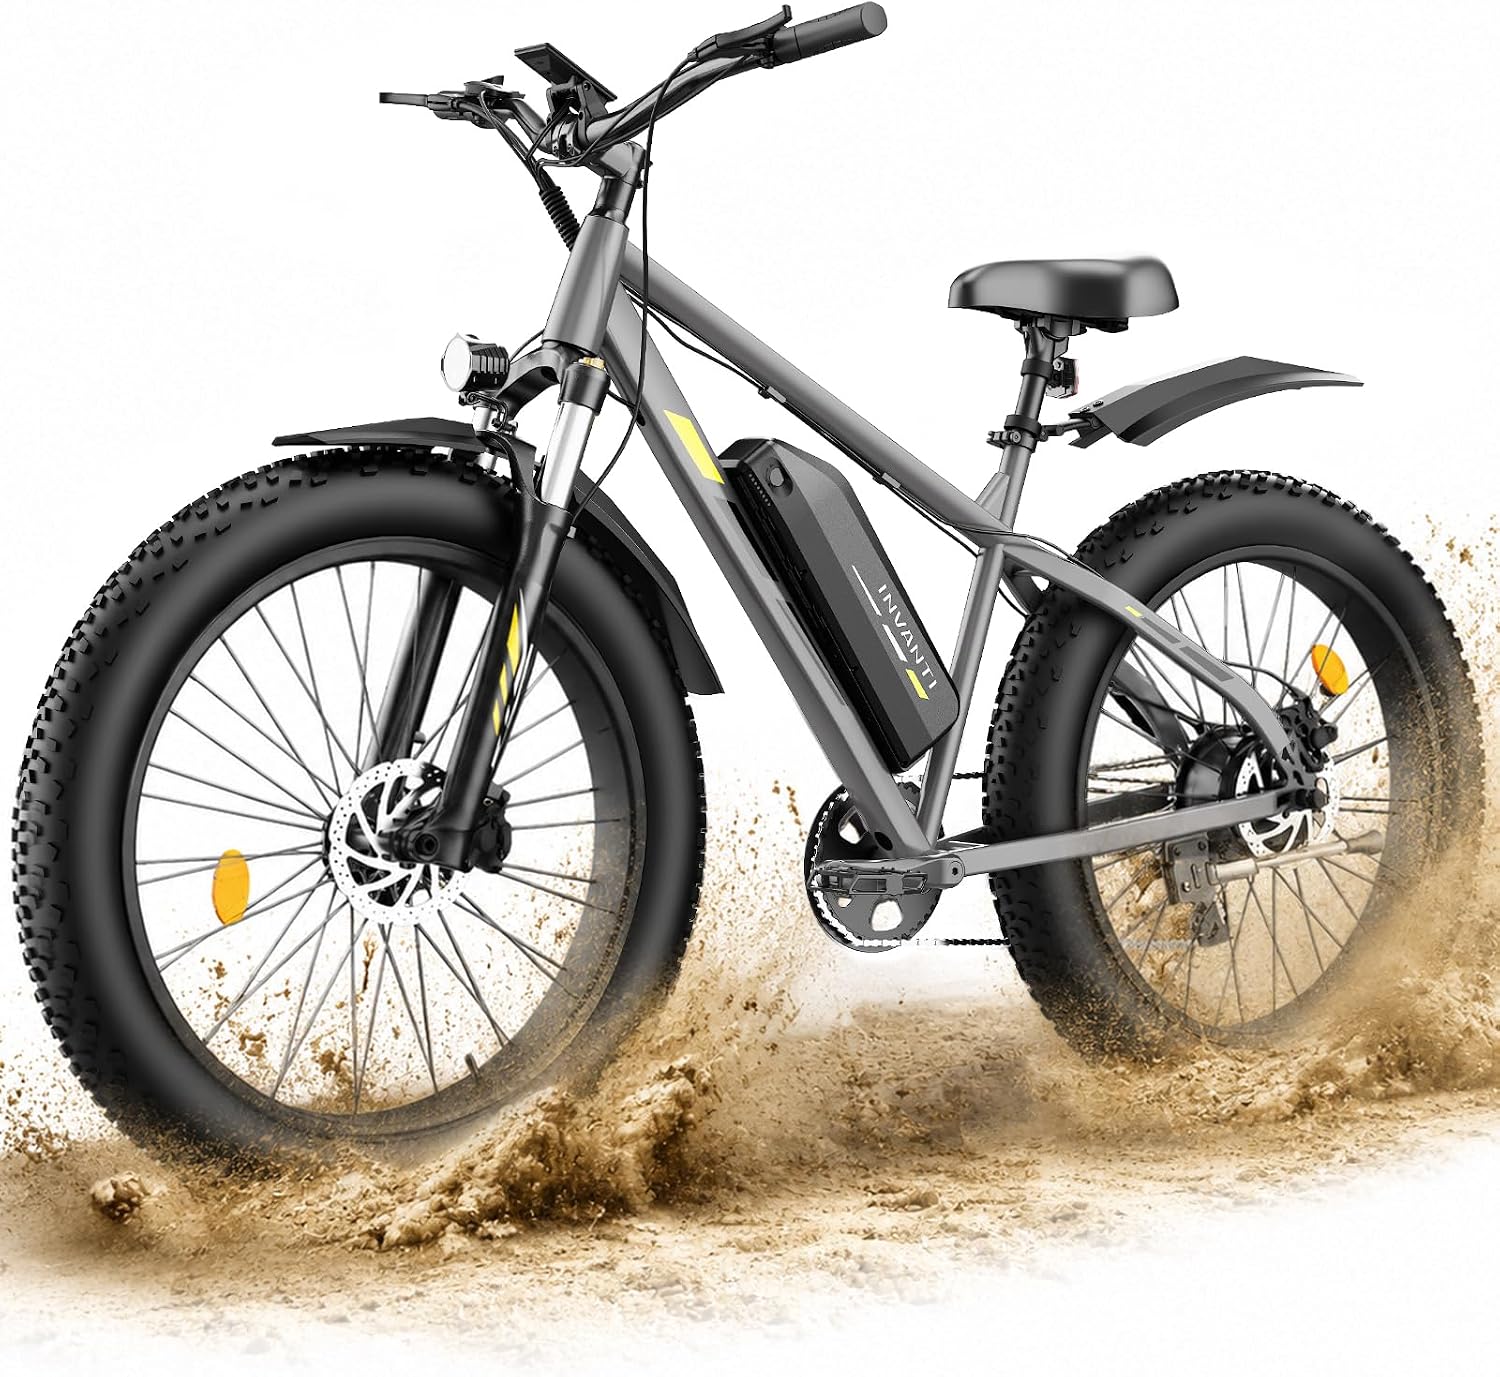
This is the bike that defines the problem. A 750W motor and 26x4 tires put it in the fat tire class, which means wide rims, a wide casing, and a footprint a standard hook was never shaped for. That combination is exactly why I start with the rack rating and the tire measurement instead of grabbing whatever hook looks sturdy.
Two things to do the day it arrives, before it goes anywhere near a wall: weigh it on a bathroom scale (stand on the scale, then stand on it holding the bike and subtract), and measure the tire at its widest point. Write both numbers on a strip of tape on the garage wall. Every storage decision after that comes out of those two figures.
Flaws but not dealbreakers: a fat tire bike takes up more wall and floor space than the box suggests, because the bars and pedals stick out past the tires. Leave more clearance than you think you need.
Anyone moving from a commuter to a fat tire e-bike should re-plan the whole corner, not just swap the hook.
Measure first: the three numbers that decide your layout
Bike weight. Bathroom scale method above. This is the number that eliminates racks.
Tire width. Measure the casing at the widest point, not the tread. Fat tires vary more than the label suggests.
Wall and floor space. Measure wall height from the slab, then measure how far the bike sticks out when it is vertical. A vertical rack trades floor space for depth, and you need to know which one your garage is short on. In a one-car garage, depth is usually the thing you have.
The install, step by step
Step one: pick the wall. Choose a wall the car door does not swing toward and that you can walk past with an armful of groceries. The wall beside the garage door track is usually wrong, because the track and the opener rail eat the clearance you need up top.
Step two: check the floor. Garage slabs slope toward the door for drainage. A gravity rack wants its base flat against the wall on the high side, leaning into the wall rather than standing out where the slope makes it want to roll.
Step three: assemble on the floor. Build the rack flat on the slab where you have room to move, then walk it into position. Assembling it while it leans against the wall is how people strip hardware and lose bolts under the workbench.
Step four: load the rear wheel first. Set the rear wheel into the cradle, then pivot the front up. Lifting a 750W bike by the frame with one hand while steering with the other is how top tubes get scratched.
Step five: hang it for a day before you trust it. Put the bike up and leave it. Come back the next morning and look at where the rack meets the wall and the floor. If anything shifted, fix it before this becomes the permanent spot.
Step six: plan the charger. Route the cable so it is not stretched across a walking path and not hanging off the port. A cable pulling sideways on a charge port is a repair waiting to happen.
Step seven: keep the door path clear. Tape the rack's footprint on the floor for a week. If you keep stepping on the tape, the rack is in the wrong place.
Where a fat tire changes the plan
Cradle width is the first thing. A hook or arm shaped for a 2-inch tire can let a 4-inch tire rock, and a rocking bike works hardware loose.
Wheelbase is the second. Fat tire bikes tend to be longer, so a rack that holds a road bike with room to spare may leave the front wheel near the edge of the arm.
Fenders and rear racks are the third. If the bike has either, the tire is no longer the widest part, and the rack has to clear both.
Finally, do not store it long-term on a flat tire. The rim ends up carrying the load. Keep tires inflated to the pressure on the sidewall and the wheel takes the weight the way it was designed to.
Battery and motor care while it sits
The rack keeps the bike out of the way. The battery decides whether the bike still works in March.
If you are parking the bike for weeks, charge the pack to roughly half, not full, and store it indoors at room temperature. A garage that freezes is hard on lithium packs, and a pack left at full in the cold loses capacity early.
Charge after a ride, not before, and let the pack cool a while before you plug it in. Do not leave it on the charger for days.
Wipe the chain and check the brake pads before the bike goes up, not in the spring. It takes two minutes at waist height and ten minutes on your knees in March.
Cover the display if your garage is dusty. A cloth over the bars beats a scratched screen.
What this setup actually costs you
The rack is a one-time purchase and the install is an afternoon. Check current Amazon price on the rack, and check current Amazon price on the bike if you are still shopping.
The real cost is the alternative. A bike that falls in a garage dents a car, bends a derailleur hanger, or cracks a display. A battery stored in a freezing garage gets replaced years before it should. Both of those cost more than a rack, and neither comes with a warranty claim that goes anywhere.
Mistakes that cost you a bike
Hanging a heavy e-bike on a hook rated for a road bike, then wondering why the hook is bent in April.
Lifting by the battery or the rear rack instead of the frame.
Leaving the charger plugged in for a month because the bike is "in storage."
Storing a fat tire bike on a rack sized for a hybrid, with the tire hanging off the edge of the arm.
Forgetting that a leaning rack needs a check after the first week, because floors settle and bikes shift.
The short version
Measure the bike, weigh the bike, pick the wall, then match the rack to the numbers instead of the picture on the box. The Delta Cycle Michelangelo 2 gives you a gravity rack rated to 80 lbs with adjustable arms and no drilling, which covers most two-bike garages as long as your tire and your weight fit inside the specs. The INVANTI EB33 is the fat tire 750W bike that sets those specs in the first place.
Then bring the battery inside. That is the step nobody puts in the instructions, and it is the one that saves you the most money.