Hauling an e-bike is where most riders find out their rack was never rated for the job. You see it every weekend at the trailhead: a hatchback with two bikes swinging off the trunk, straps routed through the frame, foam pads gone, one wheel cranked sideways like it is trying to flag down help.
I have loaded bikes onto cars every wrong way there is. Eight years as a bike messenger in Denver, 40 miles a day, then three years on e-bikes after my knees told me to knock it off. Now my weekends are a dirt bike with my 14-year-old son and pedal e-bikes on the days we want range instead of speed.
The setup is not complicated. The order of operations is what people get wrong. Weigh the bike, match it to the rack, mount the rack empty, then load the heavy one first. Do that and nothing touches paint, nothing loosens at 70 mph, and you are not the guy on the shoulder with a strap in his teeth.
Why you should trust me
I am the test nobody else runs. Almost 200 lbs, real hills, real drops. My son has dropped his bike four times and it seems like it will hold up well, and I have watched cheap racks do the opposite on the same road.
I have owned three e-bikes and I am planning a fourth. I assemble them in my garage, tune them faster than they came out of the box, and track every mile of range because a claim on a sticker means nothing until the battery is still showing full when I get home. I have hauled bikes on trunk racks, roof trays, and truck beds, and I have learned which of those three survives a Colorado crosswind and which one ends up in the ditch.
I do not care what the box says. I care what happens when the rack is loaded, the road is bad, and the straps have been vibrating for two hours.
How I picked and how I check a setup
The two products below are not competing for the same job. One is a rack for pedal bikes, and one is a machine that will never see a trunk rack in its life. That distinction is the entire article.
When I look at any hauling setup, I check four things. First, the weight rating on the rack against the real weight of the bike, not the weight the seller wishes it was. Second, where the straps hook, because sheet metal and glass are not the same thing. Third, the contact points, because a foam pad with grit under it is sandpaper at highway speed. Fourth, whether the whole thing can be mounted and checked by one person in a driveway, because if you cannot put it together in your garage, you do not really own it.
Everything else, the color, the folding arms, the little lock loops, is decoration.
The rack that carries the pedal bikes
This is the cheap, honest answer for two normal bikes on a normal car. No hitch, no wiring, no drilling, no shop appointment. You hang it, you strap it, you drive.
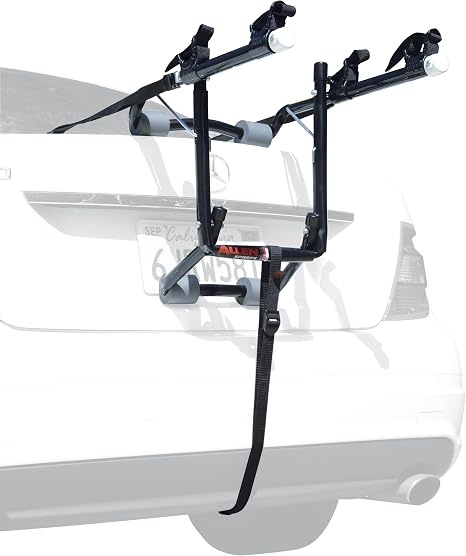
Budget pick: Allen Sports Deluxe 2-Bike Trunk Mount Rack, Model 102DB, Black/ Silver, 23 x 15 x 4 inches
 Visit on Amazon →
Check current Amazon price. This is the category that started it all: padded arms, a set of straps, and a frame that folds down to roughly the size of a duffel bag. The listed dimensions put it at 23 x 15 x 4 inches folded, which means it lives in the trunk instead of the garage, and that matters more than people admit. A rack you have to store on a wall hook is a rack you leave at home.
Two bikes is the honest number. Two light ones. If you are carrying two 60 lb e-bikes with fat tires, this is not your rack, and no amount of extra strapping changes the arithmetic.
Flaws but not dealbreakers: Trunk racks load the trunk lid and the sheet metal it hangs from, not the frame of the car. You are trading capacity for convenience. Keep the weight down, keep the straps tight, and re-check them after the first 10 miles. Also, foam pads wear out. Replace them before they turn into plastic on your paint.
Anyone hauling a pair of pedal bikes or light folding e-bikes to a trailhead 20 minutes away will be fine here. It is also the cheapest way to find out whether you actually use a rack before you spend real money on a hitch.
The bike that never goes on a trunk rack
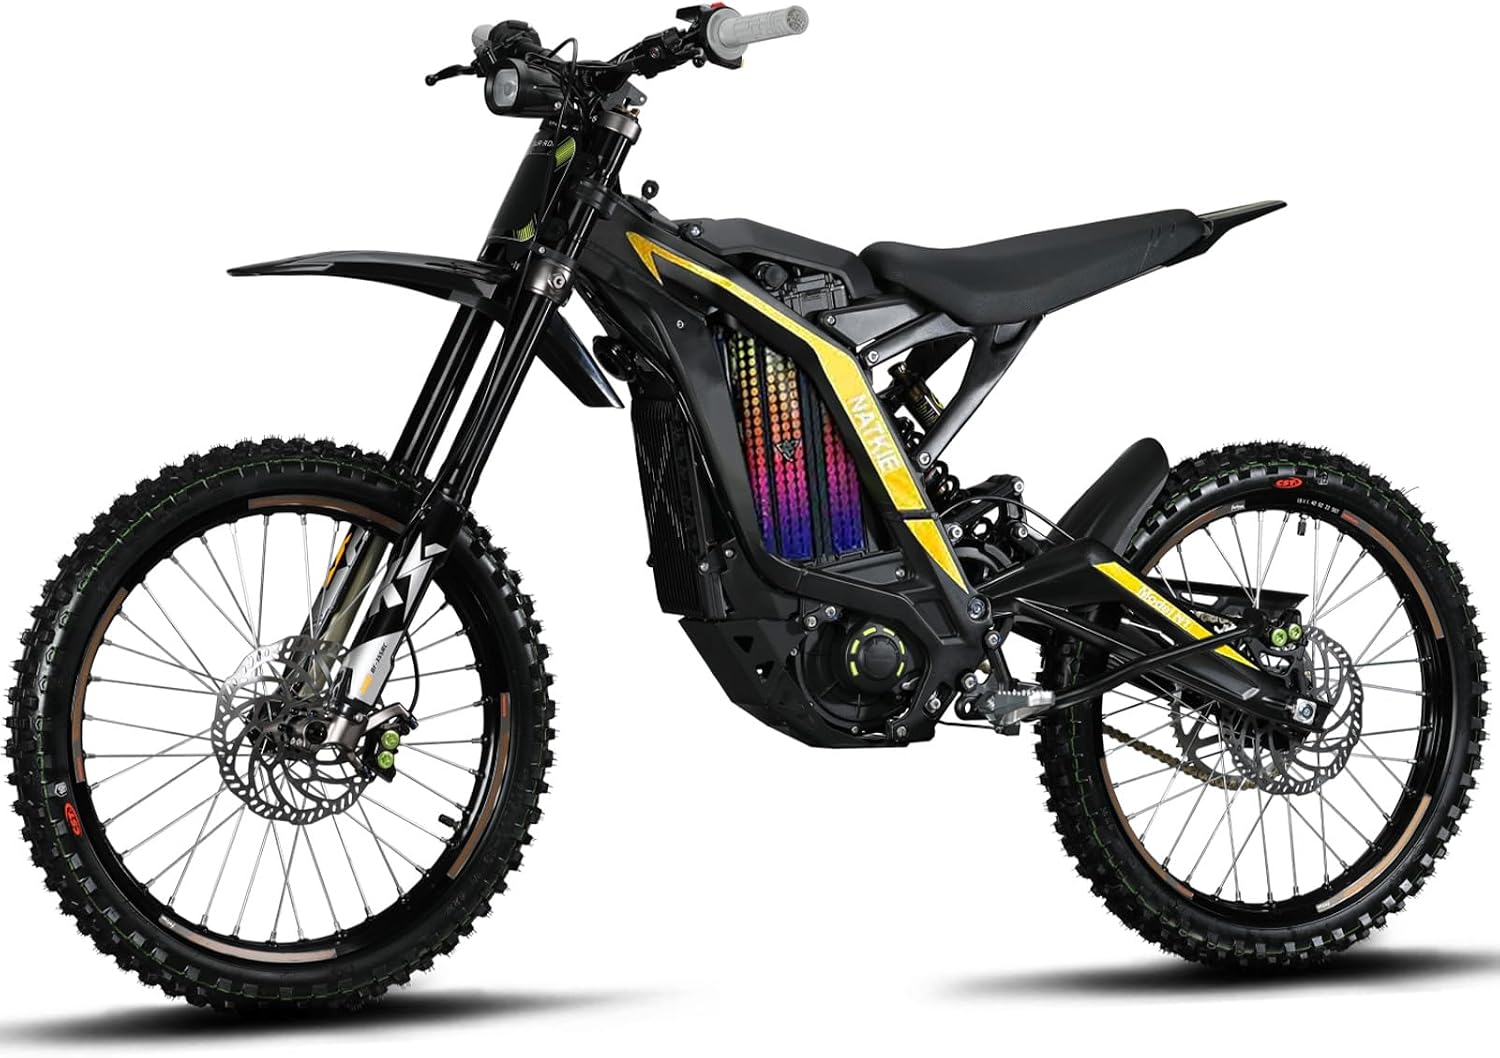
The listing is right there in the name: mid-mounted motor, 72V 30AH removable battery, 50 mph, 76 miles of claimed range. That is not a bicycle you hang off a hatchback. That is a truck bed or a proper hitch carrier with a real rating, and even then you strap it like it is trying to escape.
Upgrade pick: natkie Electric Motorcycle Bike for Adults, Electric Dirt Bike 8000W(Peak) Mid-Mounted Motor 72V/30AH Removable Battery, Max Speed 50MPH/76Miles Off Road Electric Mountain Bike, Dual LED Headlight
 Visit on Amazon →
Check current Amazon price. A 72V 30AH pack is heavy on its own before you add a frame, a mid-mounted motor, suspension, and two wheels. That is the whole reason this bike gets its own section: the removable battery is a hauling feature, not just a charging feature. Pull the pack, carry it in the cab, and you drop real weight off the rack or the bed. On a 76-mile claimed range, remember who tested it. Range claims get measured by a light rider on flat ground in perfect weather. Track your own miles and trust your own meter.
Flaws but not dealbreakers: This is a machine that needs a plan. Truck bed with a wheel chock and four straps, or a hitch carrier rated well above the bike's actual weight, which you should verify rather than guess. It is not going on a trunk rack, and it is not going on a roof rack unless you enjoy lifting that much metal over your head.
Anyone stepping up from a commuter e-bike to a real dirt bike needs to budget for the hauling part at the same time as the bike. The bike is the fun half. The carrier is the half that keeps it off the pavement.
The actual loading workflow
Here is the sequence I use. It works on any car and any rack, and it takes about 15 minutes the first time and five minutes after that.
Step one: Know the real weights. Weigh the bike or look up the shipping weight, then read the rating on the rack. A rack rated for two bikes at 35 lbs each is a 70 lb rack. That number includes the bikes, not your optimism. An e-bike with a big pack can blow through it alone.
Step two: Find the metal. Trunk rack straps hook to sheet metal, not glass and not plastic trim. Open the trunk or hatch and look for the seam of the lid or the fender lip. If your car has a spoiler or a plastic cladding panel, you need a different mounting method, because those parts will crack under strap tension.
Step three: Clean the contact points. Wipe the trunk lid and the rack pads. Grit trapped between foam and clear coat will grind a dull patch into your paint on the first drive. This is the single most common mistake I see and the easiest one to avoid.
Step four: Mount the rack empty. Fit it, adjust the arms, then tighten everything down. Loading first and adjusting after is how racks end up crooked and bikes end up leaning on the car.
Step five: Load the heavy bike inboard. Closest to the trunk, in the cradle that sits over the car, not the one hanging off the back. You want the center of mass as close to the vehicle as the rack allows. Long arms turn weight into leverage, and leverage is what bends racks and flexes trunk lids.
Step six: Route the straps clean. Every strap should run from the rack to the hook without dragging across a painted panel. If a strap touches paint and vibrates for two hours, it will wear through the clear coat. Tape the strap or move the hook.
Step seven: Tie the wheels, not just the frame. Cradles hold the frame. They do not stop a front wheel from turning sideways or a rear wheel from walking. One strap per wheel, snug, not crushing.
Step eight: Add a redundant safety strap. One extra strap from the rack frame to a solid metal point costs nothing and buys you the difference between a wobble and a disaster. I run one even when everything feels tight, because everything feels tight right up until it does not.
Step nine: Re-check after 10 miles. Straps stretch. Racks settle into their hooks. Stop, walk around the car, and put a hand on every strap. This is the step people skip and the step that matters most on a long drive.
Step ten: No bike covers on the highway. A cover is a sail. It flogs paint, it hides a loosening strap, and it turns a 30 mph crosswind into a fight.
Why the weight math beats the strap brand
A rack rating is a static number. Your drive is not static. Every expansion joint, every pothole, and every hard brake multiplies the load on the rack and on the metal it hangs from. That is why a rack that felt fine in the driveway can feel wrong at mile 40, and why the inboard position and the redundant strap matter more than which brand of ratchet you bought.
There is also a limit on the car, not just the rack. Trunk lids and hatch struts are not designed to carry a load, and some vehicles put a hard cap on how much weight can hang off the back. Read the manual for your car the same way you read the rack rating. Two limits, and you have to respect the lower one.
This is also why the big bike gets its own carrier. A 72V machine with a mid-mounted motor and a 30AH pack is not a bicycle with a motor bolted on. It is a motorcycle-class machine, and it should be strapped down like one, in a bed or on a hitch carrier, with the battery pulled and riding in the cab.
What this all costs and what to skip
There are two paths and they do not overlap.
The cheap path is the trunk rack. It costs the least of anything that will move a bike, it stores in the trunk, and it handles a pair of pedal bikes without complaint. If your bikes are light and your drive is short, this is where you stop. Check current Amazon price and be done.
The other path is the dirt bike, which drags a whole second purchase behind it: a carrier or a bed setup rated for that weight. Budget for it the day you order the bike, not the day it arrives.
Skip the accessories that do not solve a problem. Skip the cover for highway use. Skip the lock cable that gives you confidence instead of security. Spend the money on a second strap and a wheel chock.
Do the weighing, mount the rack empty, load the heavy bike inboard, and re-check at 10 miles. That is the whole job. The bikes were built to take it. The car was not.